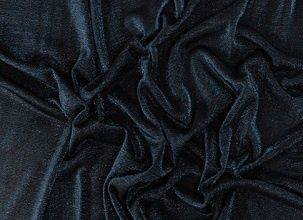
A while back I got some swatches from Mood, and one of them was this gorgeous metallic knit jersey. I got more yardage than I usually do because I liked the way it draped and how it felt, and the subtle blue shimmer on otherwise black-looking fabric looked fab as well.
I knew this fabric would be excellent for autumn and winter sewing, so now that autumn is in full swing, I finally felt inspired enough to put it to use.
Wanting to find a pattern that would show the shimmer the best, I initially thought of a wrap dress because the draping some patterns have would work great for that very purpose.
Betty Wrap Dress - Sinclair Patterns
I've had good experiences with Sinclair patterns before, so I was feeling optimistic about the Betty faux wrap dress! I picked size 8 initially because that's what I used for the Sinclair Patterns Amaya skirt.
My first beef with this pattern is that there's no diagram map of the pieces on the PDF. I like printing out just the bodice and making a toile of that to get a rough idea of if I'm using the right size. Since there was no map of what pieces of the PDF the bodice resides on, it was partly guesswork to get it printed and assembled.
I did end up making a toile out of some scrap knits to make sure it was the right size, but it felt like more work than necessary to figure that out. The bodice felt too big, so I sized down to size 6 for my actual sew of the dress.
Sinclair patterns delivered in having beginner-friendly instructions with great pictures and diagrams, and it was especially easy with my serger.
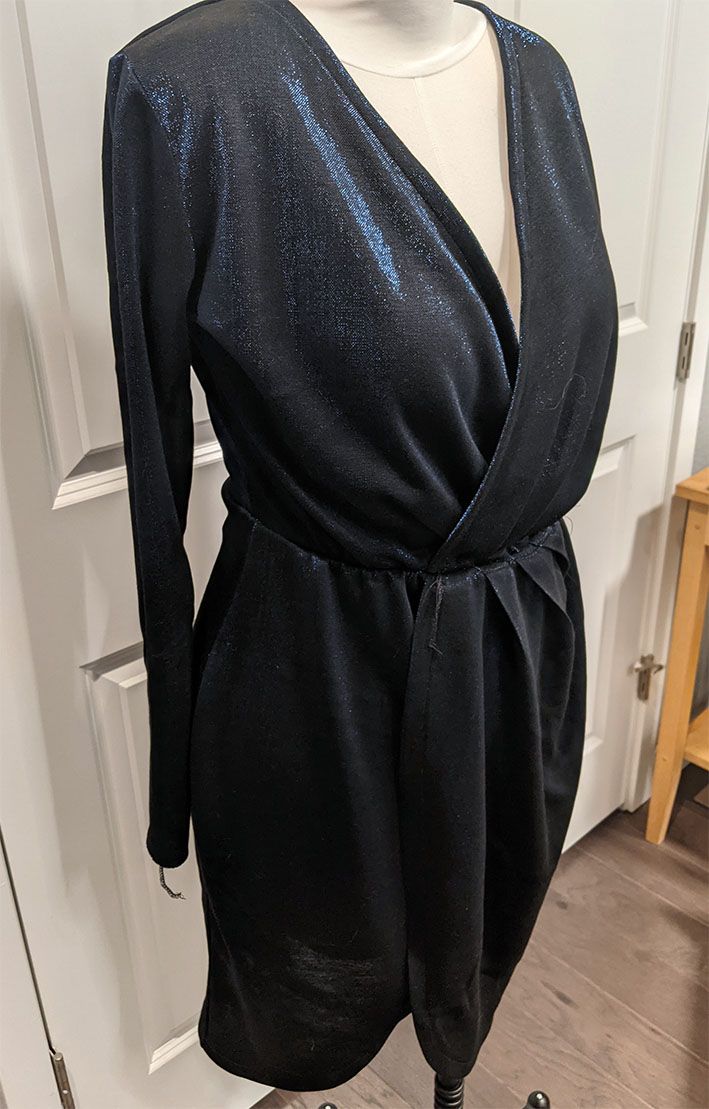
My second beef with this pattern is it makes it seem like the amount of the top "wrap" is a suggestion and it should be adjusted to one's personal bust. I think this is more of an issue of how I read the instructions, and a more experienced sewist might not have had this issue and used the actual notches. But I ended up making the wrap part not wrap enough.
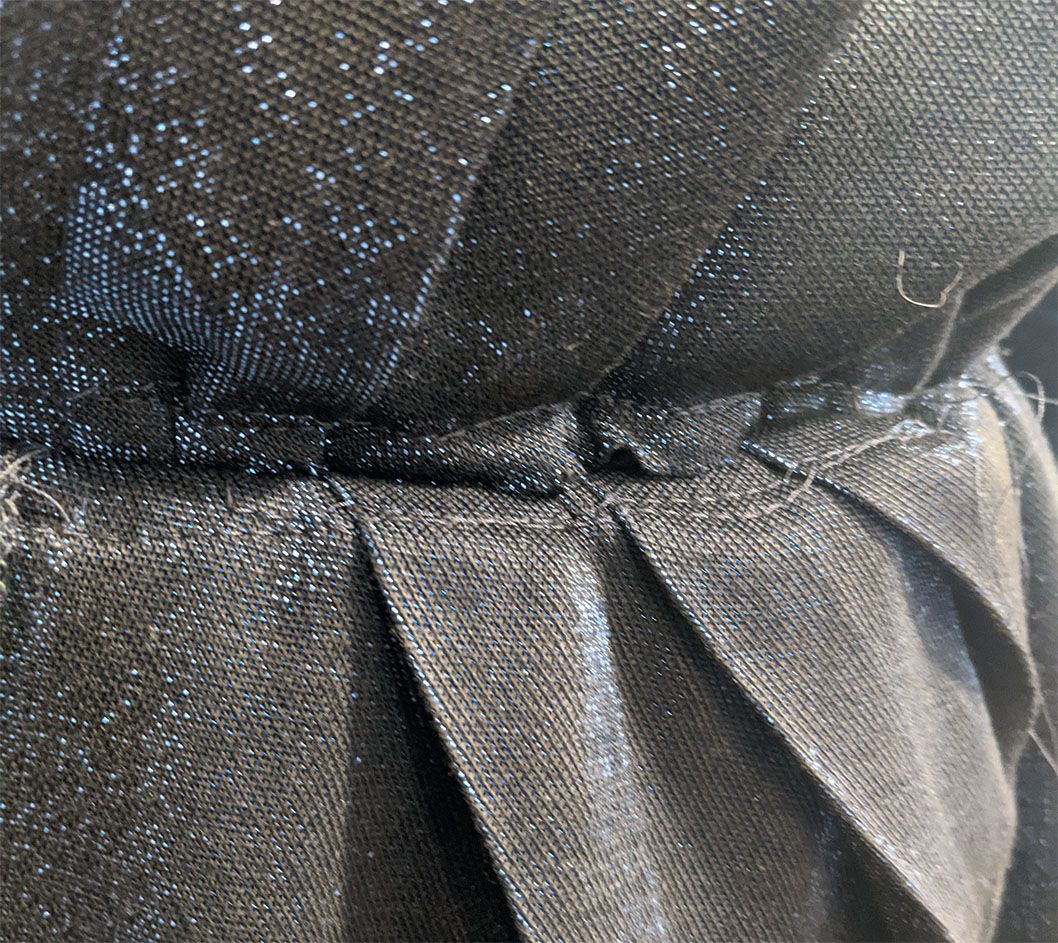
Finally, I feel like the elastic at the waist ended up making the whole thing extra-weird looking (I swear I basted and tried it on), but the last part where you attach the bodice, skirt, and elastic all together is very high stakes and very likely to go wrong (the instructions do say to go slow), but elastic is always so tricky! I messed that one up pretty bad.
So, this dress was a bust. Not only does it bag out in a weird way and the waist seam is messed up, the sleeves are also too tight (I should've known better, I almost always need to make sleeves larger because I'm a weightlifter).
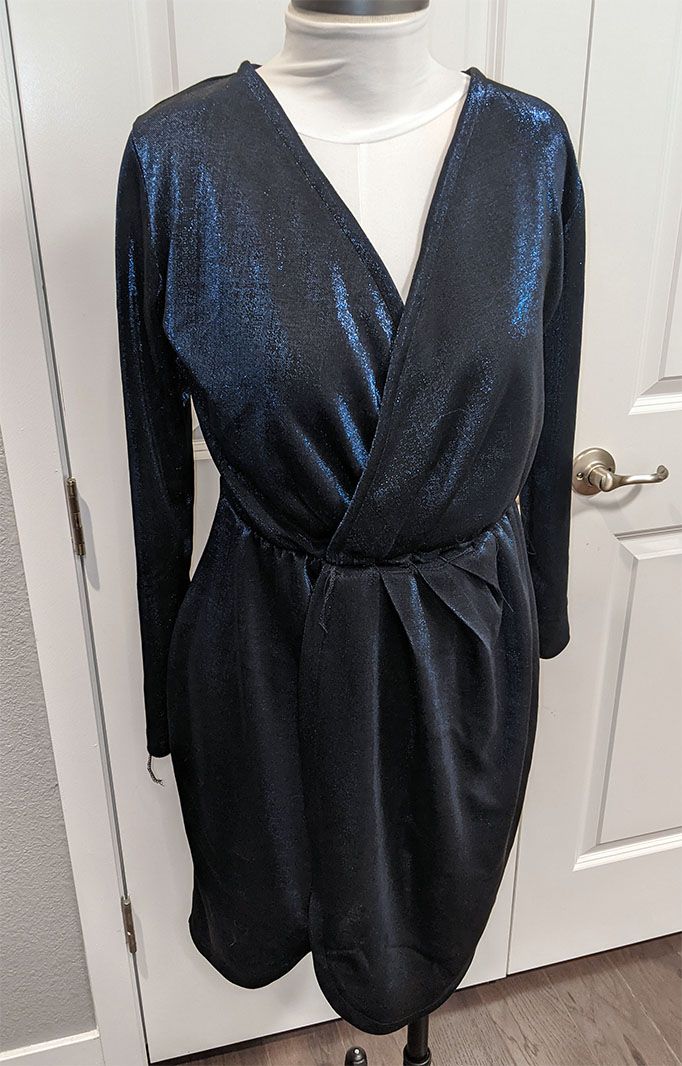
Despite so many things going wrong, I don't feel like this was a waste of my time because I got to play with adjusting the differential feed on my serger to help the bottom of the hem curl up. What a neat technique!
Acknowledging that there was more stuff wrong than I wanted to fix, I decided to harvest the fabric from this dress and try again with another pattern...
Jackie Dress - Victory Patterns
At first glance, I didn't think the Jackie dress was a very complicated pattern. From the front, it's a bunch of sewn together panels! But I think it definitely deserves its rating of "intermediate", and as you'll see there were some parts that stumped me.
I was feeling pretty frustrated at not having produced anything from this fabric yet, so I just went ahead with sewing without a toile. I made version 2 (sleeveless and shorter than version 1) in size 8 since that size on the size chart (37" bust/28.5" waist/39" hips) was closest to my measurements (36"/29"/40").
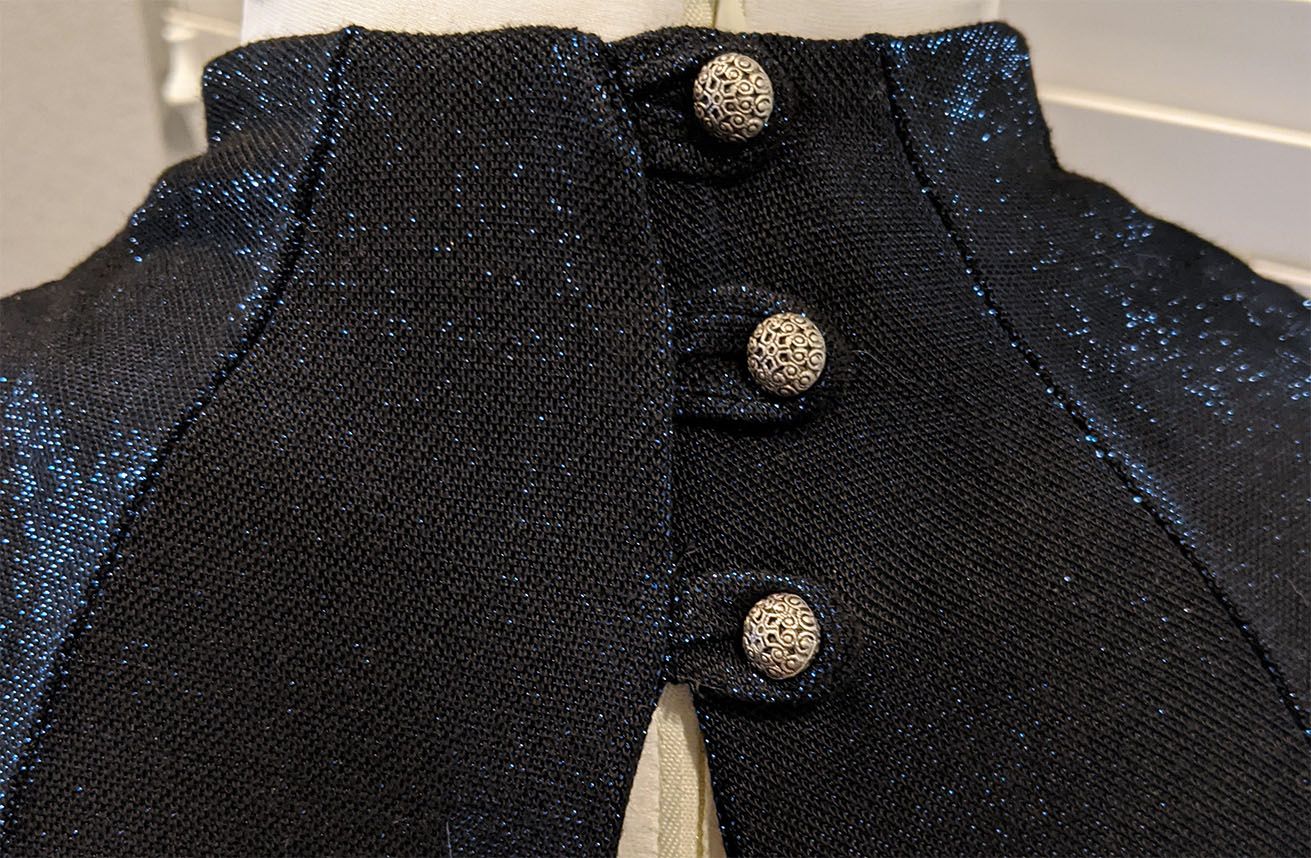
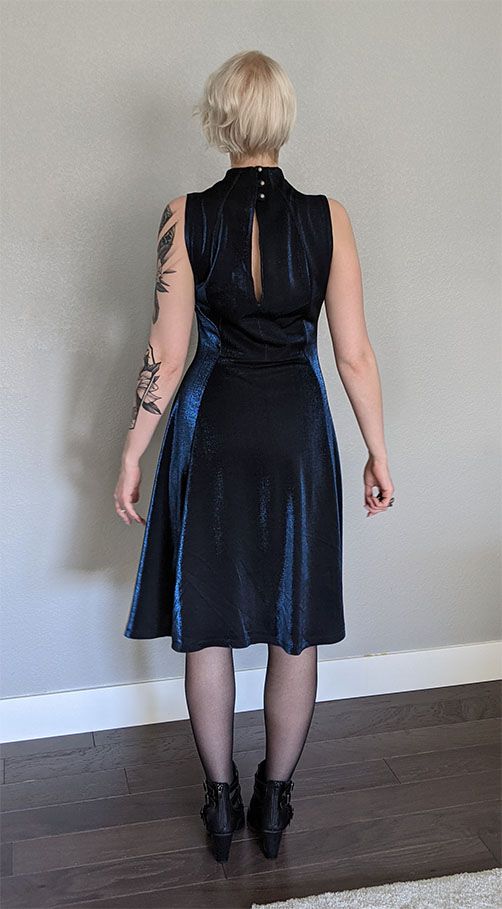
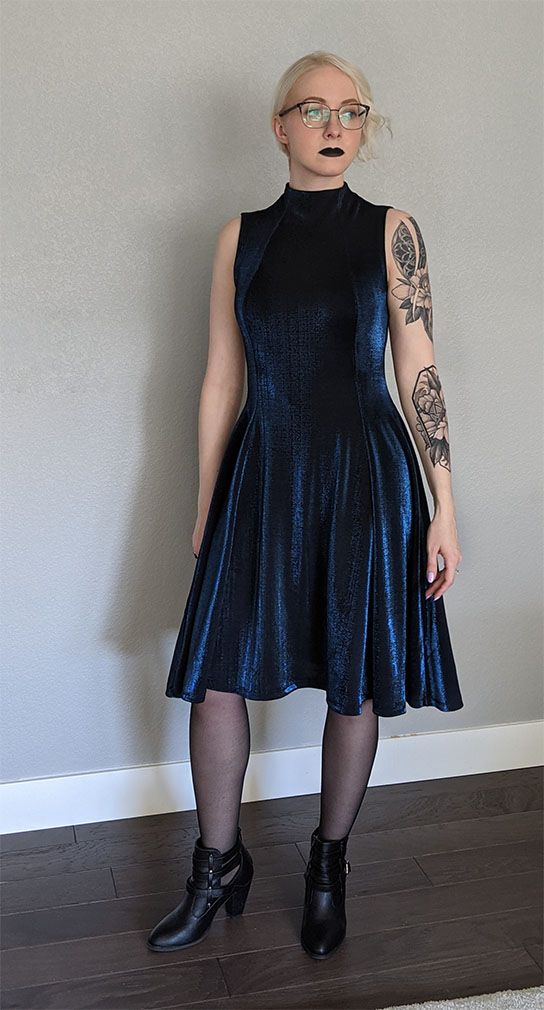
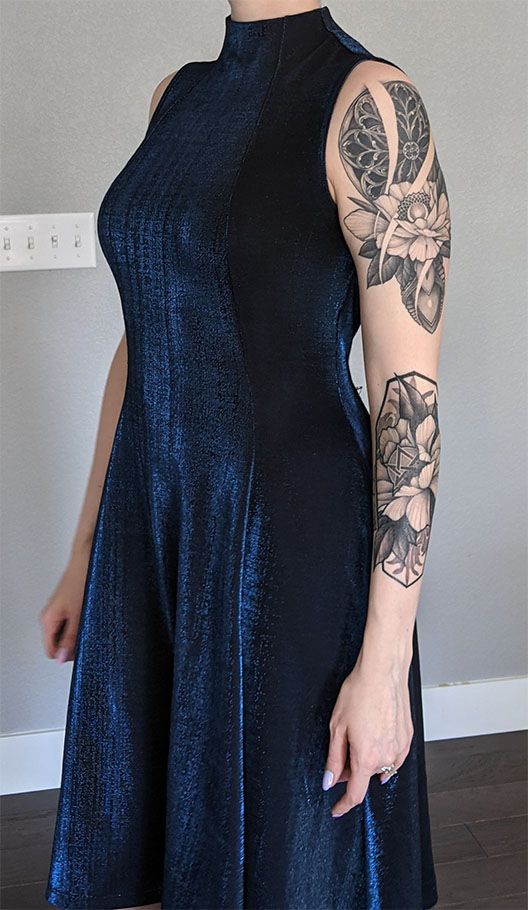
One of the things that drew me to this pattern was the delicate neck closure. I wasn't feeling installing a zipper, but I loved the look of the keyhole back and ball-and-shank buttons.
I was hoping to 3D print the buttons, but they are so tiny (3/8" or 1cm) that my printer couldn't get the level of detail I wanted on them (without switching out the extruder head to something smaller, which I didn't have). I ended up buying buttons from JoAnn's (even though I try to avoid that store), I'm happy with how these look!
Sewing the front was indeed what I expected; just serging the panels together. The back, back facing, and neck facing was another story, though... It had some new things I haven't done before (like button loops), and some interesting techniques for assembly of the facings.
I relied heavily on the sew-along that Victory Patterns provides. There's some excellent tips and suggestions that aren't in the pattern instructions, and I strongly suggest checking it out as you go along.
Some of the tips I would suggest are:
- Baste with a sewing machine or hand-baste whenever possible. My serger wasn't always ready to grab both layers at once, and several parts require high precision to line up the layers correctly. Basting made serging so much easier.
- Check the fit of the button loops around the buttons, mine are too loose, so the buttons keep coming undone.
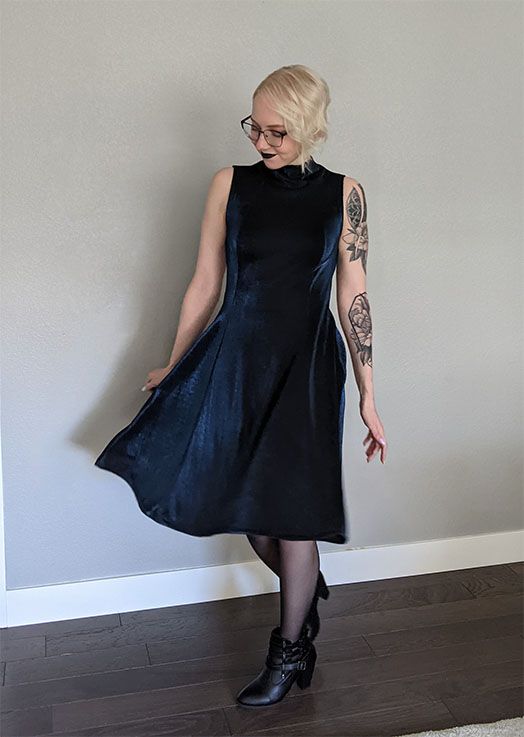
- I would err on the size of heavier fabric. Some parts of it (like the neckline) would come out better with heavier fabric, in my opinion. This jersey was almost transparent, and although I like how it moves - I wonder how it'd look in something with more structure.
One thing I didn't expect to happen was that the inside of the neckline (where the neck facing is) is incredibly scratchy to wear. This is odd because the fabric feels great to the hand (there is only the slightest hint of metallic threads, it feels very soft overall), but it's just enough to irritate the heck out of my neck. I was still able to wear it for a day, but I might need a base-layer in the future.
There were also some mishaps with cutting it out, to where my hem didn't quite end up even, and there's some unevenness with the back construction as well.
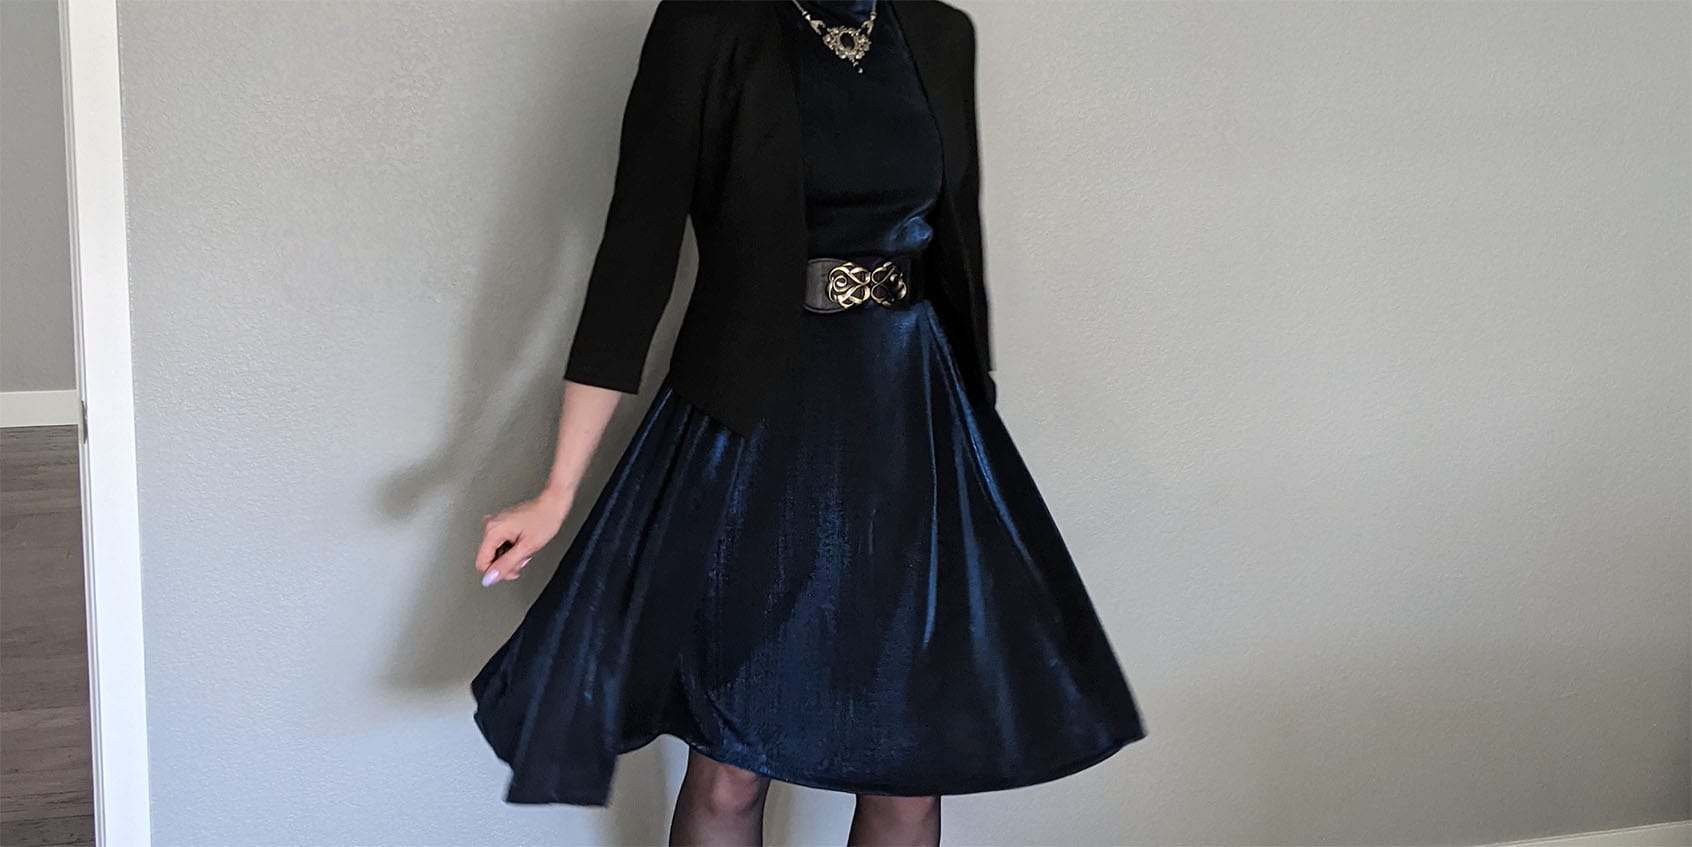
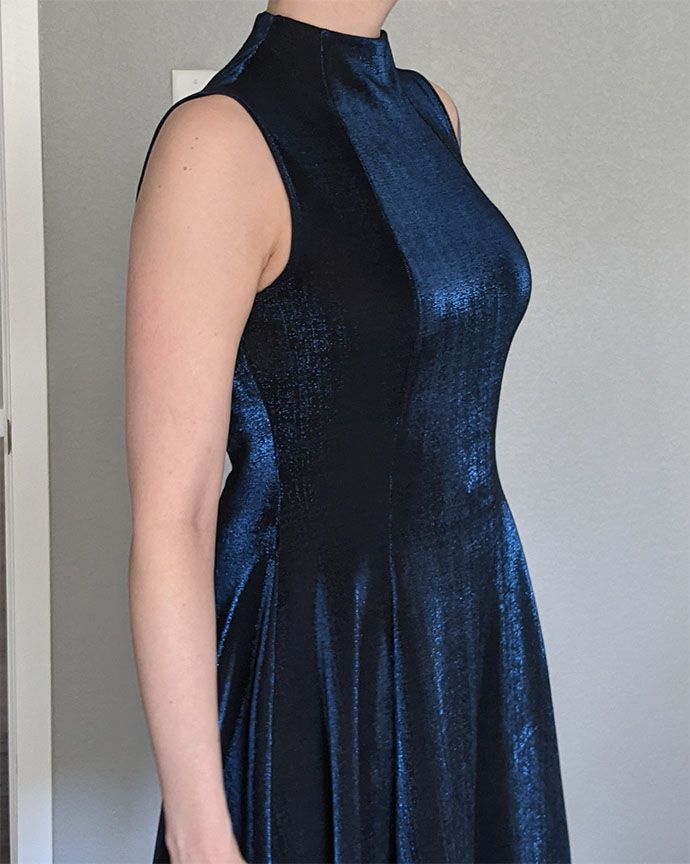
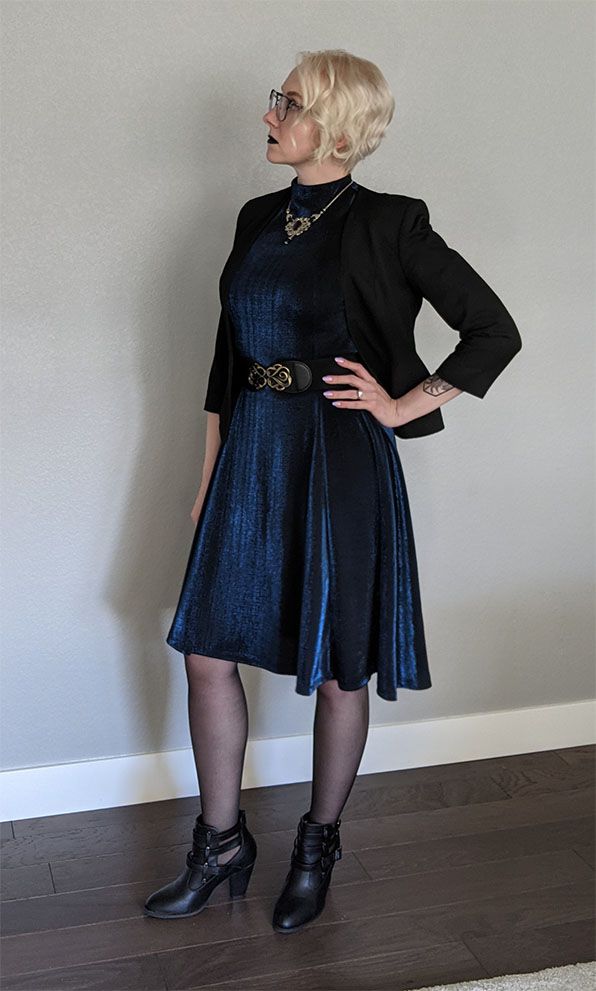
BUT - bottom line, it's good enough to wear with a blazer, in my opinion! The dark fabric hides a lot of sins, and the beautiful blue shimmer is worth it.
On to the photos!
Football apparel often links a city, a club, and a shared set of memories because names and numbers can turn a shirt into a personal football memory. Collectors interested in Borussia Dortmund often look at how different seasons changed the shape and details of the shirt. When choosing between modern and retro styles, Brazil national team shirt remains one way to link football history with the practical choice of a shirt. In conversations about club identity, the shirt works as a cultural object as well as something to wear.
Comments powered by Talkyard.