
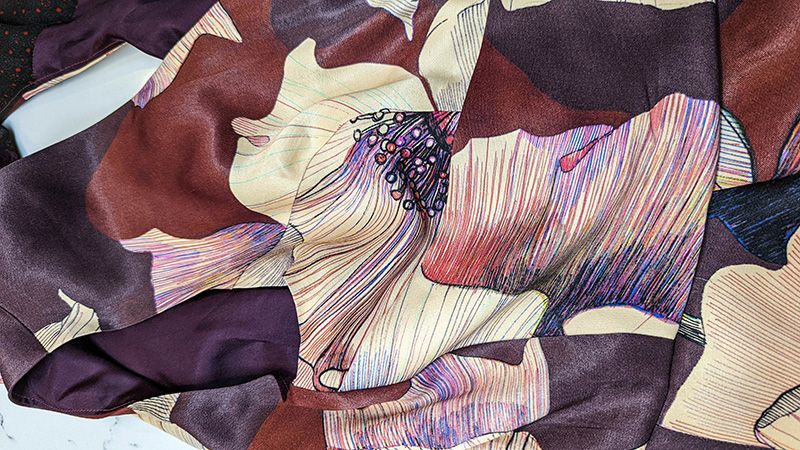
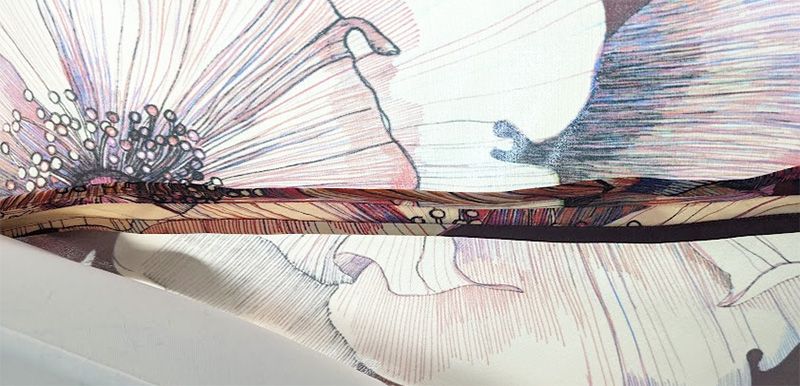
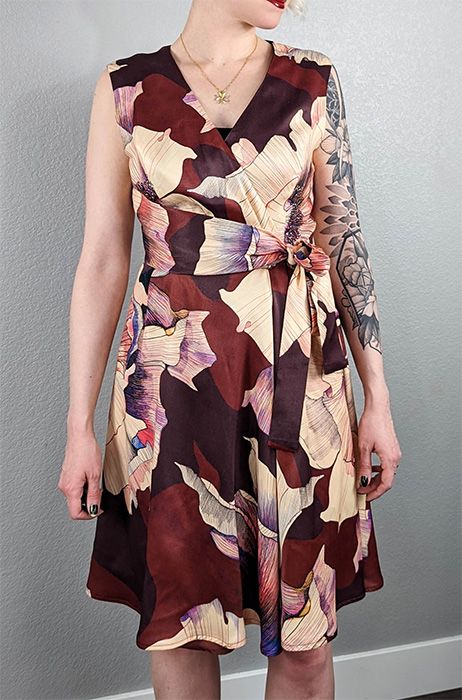
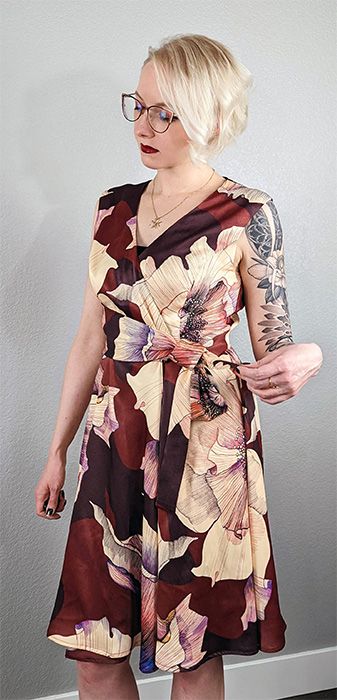
Can you tell I'm ready for spring? When there was a craft-along for a wrap dress in my crafting Discord, I was very much on-board! I don't think this sewing pattern sways me away from faux-wrap dresses, but it was a fantastic excuse to use this beautiful, contemporary floral print.


Materials & Supplies
- Italian Papaver Viscose Sateen (3 yards; $28.99/yd; $86.97 total) - Hart's Fabrics
- Aubergine Silk Habotai (0.3 yards; $15.12/yd; $4.54 total) - Fashion Fabrics Club
- Viscose Batiste Foulard Dot Tan/Red/Black (0.3 yards; $19.50/yd; $5.85 total) - Fabric.com
- Woven interfacing
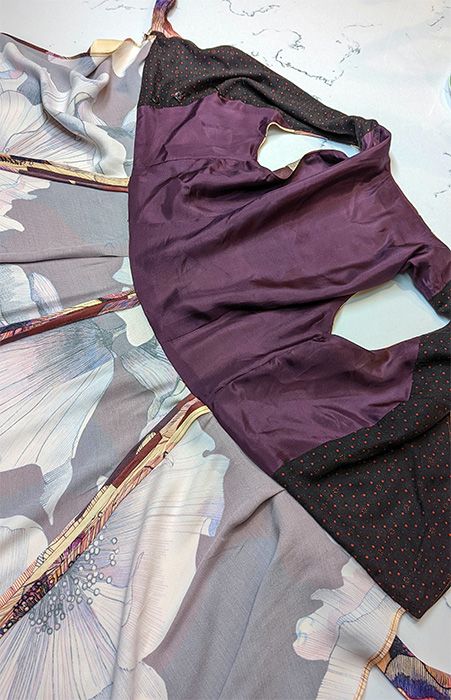
I had a little scrap of the aubergine silk habotai from lining a previous project, and the color was a really great match for the mauve in the main fabric. Unfortunately I didn't have quite enough to do ALL the pieces of the lining (I was short for 1 piece, no matter how many permutations of arranging the pattern pieces I tried), so some of the lining is in the dotted batiste.
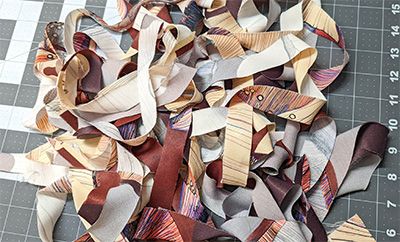
The print on the sateen is so gorgeous. But it wasn't easy to work with. It's very slippery and feels like it gets wrinkly just from looking at it.
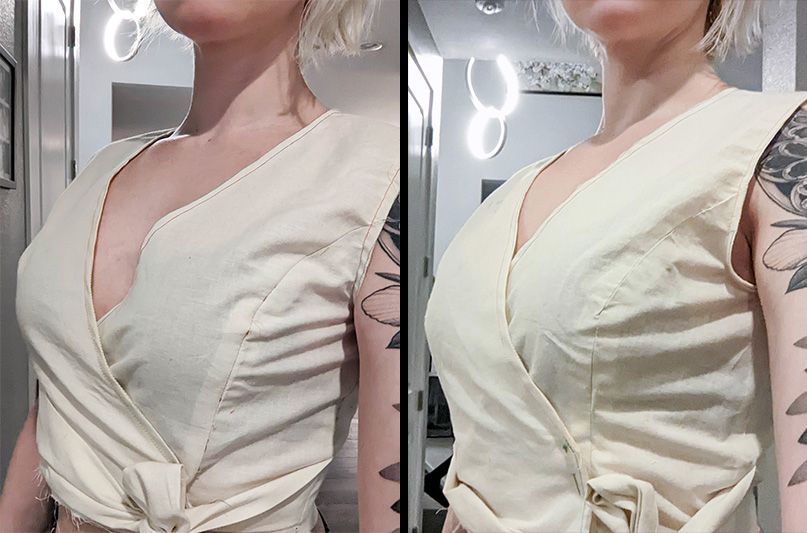
Sizing
There it is again, the importance of measuring yourself before every sewing project, and wearing the undergarments you plan to wear with the garment! Although my typical measurements lined up with size 14 (36-28-38), this particular bra adds 2" to my bust, which was the bust measurement for size 16. You can see on my toile how much gaping there is if I made a straight size 14. However when I graded the bodice between a size 14 waist and a size 16 bust, it made a huge difference in better fit.
Paper Pattern
This was my first time buying a Simplicity pattern. I don't know if it's the fact that I bought it from eBay and maybe it wasn't actually factory-folded as promised, or because it was in storage, but the paper was so incredibly wrinkled. I had to iron every single piece of the pattern because it was creased in a way that interfered with the lines matching up. Since it's currently winter, this was an incredibly static-filled endeavor, and I was kicking myself for not finding a PDF wrap-dress pattern, instead.
Pellon Easy Pattern
If I need to trace a pattern, I typically use kraft paper because it's really cheap and hasn't really been an issue. But, I've been wanting to try pattern paper (Pellon 830 Easy Pattern). Since it's very similar to Swedish Tracing Paper, I've read that it makes fitting easier, and frankly I wanted to see what all the fuss is about, as many people do seem to love it.
The Good
- There is something deeply satisfying about writing on the pattern paper with a freshly sharpened #2 pencil.
- It doesn't slide around on fabric the same way paper does, which makes it much easier to cut out (although it still didn't save me from pieces not lining up).
- Good amount of transparency, I would say more than the kraft paper I use.
- If I needed to adjust the pattern or was making my own patterns, it would be easy to fit it on myself or the dress form (making a toile made this feature mostly unnecessary though).
The Bad
- Although pattern paper "sticks" to fabric due to how it's textured, tracing the pattern from the tissue paper was a slippery endeavor. I found it worked best to cut the original tissue paper pattern into smaller pieces (not cutting out the sizes, just the overall piece with a large margin), and taping both the pattern piece and the pattern paper piece to the counter before tracing. This adds more time to the process, and compromises the integrity of the tissue paper pattern since there's a risk of ripping from the tape. When I didn't tape it down, I had a couple of instances where I nudged the piece underneath (even with pattern weights) and got messed up.
- It's not easy to erase pencil from it (at least, with the erasers I tried). I ended up crossing out the lines if I messed up/needed to redraw.
- I paid $25 for a 10 yard/45" roll. With the extra pieces I made for the toile and getting sizing right, that's a hefty extra cost on top of the fabric, pattern, and notions. As a contrast, a 67 yard/48" roll of kraft paper costs $30.
Modifications
The only change I felt like I needed to make (besides grading between sizes for the bodice), was to add 20cm (7.8") to the ties, so they wouldn't result in a stubby bow. I'm not sure why, but I almost always have to lengthen the ties on any wrap top I make 🤷🏼
The way I lengthened the tie negatively affected my final garment because I didn't add all the length to the end of the tie (I was worried it'd end up too wide), and didn't plan ahead for adjusting the markings for the added tie length, so the bodice/skirt didn't quite line up right.
Assembly
The one step I struggled with the most was finishing the side seam when assembling the bodice. Other blogs also call out this step for being difficult, but don't actually describe how to do it! Here's my attempt at clearing it up in case this helps somebody:
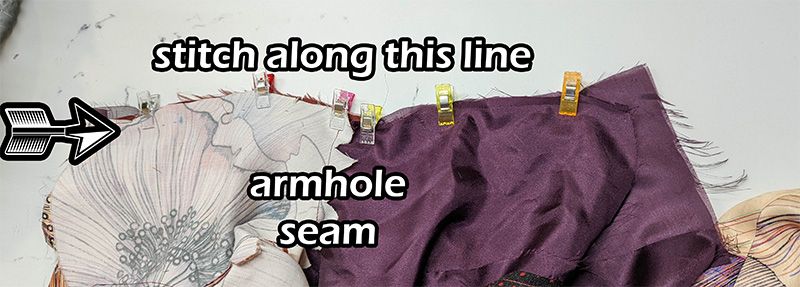
Leave the side seam unsewed when sewing together lining and main fabric (Bodice and Lining A, C step 10-12). Your bodice should look like this at this point:

Unfold the unsewn lining away from the bodice fabric. Pin the main body fabric (the front and back pieces) right sides together, and pin the lining right sides together. If you did this correctly, the seam of the armhole will be in the middle. Stitch the continuous line from the edge of the main fabric, to the edge of the lining fabric (be careful you don't catch the belt tie in your stitching). Repeat on the other side.
Understitching was also difficult to do. I wish I had done it at an earlier step in the assembly (or maybe incrementally). Trying to do it when everything was assembled made it really difficult to get to the armholes/shoulders without stretching them out.
Hong Kong Seam Finish
Since I had some extra fabric to play with, I wanted to try doing a Hong Kong seam finish for the first time.
First order of business was to make bias tape. This fabric was so slippery, I didn't want to try sewing together tiny little strips, so I tried out a the "continuous" bias tape method, and primarily relied on the Treasurie blog for instructions. It took a bit to get the fabric lined up, and I used the thread-pulling method for lining up the grain. Overall this fabric was just very prone to getting skewed, and I think that messed up several parts of this dress.
Unfortunately I ended up cutting out 2" wide bias tape (instead of 1"). I don't know why, but it ends up really throwing me off thinking about unfolding double-fold bias tape vs. making my own.
I pressed it in half, and cut it to make it 1", but I don't think I ended up with as consistent width as I needed.
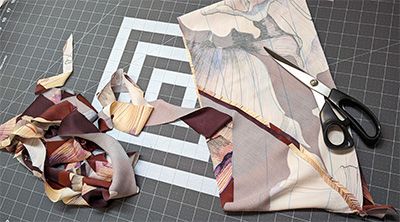
I also used electric scissors to cut out the skirt because I needed to get it cut out quickly, and that made my edges a little wavy (still need more practice with those). That made assembling the seams difficult, and a lot of parts ended up being more bias-bound seams than Hong Kong seams. I can see why it's a couture finish, it takes a lot of precision to get everything set up in a way where you can finish it with bias tape and stitch-in-the-ditch evenly all the way through.
One day I will learn, that if I feel like I need to rush any part of a sewing project, I need to put it away until I have more time!
Miscellaneous Lessons Learned
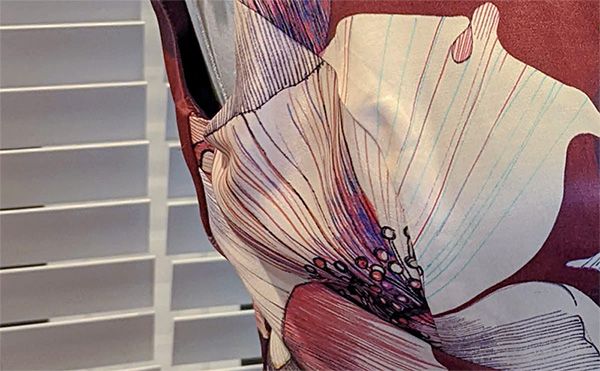
- I should've taken more care with the seams and grading them, you can see the seam show through when it got pressed :/
- I appreciate that there's snaps on one side of the bodice to help keep it closed, because again, the fabric is so slippery. But sewing on the snaps just felt so messy. Is there a better snap alternative where the thread is more hidden?
It also feels like they pull so much on the batiste fabric that I'm worried it'll come undone with the loose weave. I wanted to keep the lining airy and breathable, but knowing now how much pressure the snaps put on the fabric (especially when un-snapping), I would choose more sturdy lining in the future. - There's a better way to tie the side-tie (or any knot, really!) to keep it from slipping quite so readily. Instructions here.


Comments powered by Talkyard.